
NOTES:
- Alfred’s route can be played from the start.
- Types of Endings: The Dawn Ending (Good), The Clown Ending (Tragic/Bad), and The Astray Ending (Semi-bad).
- The first “Shard exploration” segment cannot be skipped on your first route.
- Recommended Route Order: Alfred→ Lucas → Linus → Edward→ Ascot→ John → Truth.
💡Small Tip: If this isn’t your first playthrough, you can start the game by loading your Common Route Save file (if you have one). However, make sure to play the game from the beginning at least once during your second or third route to unlock certain dialogues in the prologue and common route. These are required to access and unlock the other routes for Edward, Ascot, and John.
➤ START NEW GAME
Prologue
–(No choices)
Common Route Chapter 1
***If this is not your first route, the first shard exploration can be skipped.
(Shards Search, in any order)
-Garden 1 (shard)
-Dining Hall (shard)
-Entrance Hall (shard)
-Garden 2 (shard)
-Long gallery (shard)
-Explore all the remaining areas.
SEE THE TRUTH:
-(Select Green Shard)
-(Select Red Shard)
-(Select Blue Shard)
-Burn it.
-Make a move.
-Help with plating.
(Shards Search, in any order)
-Library (shard)
-Entrance Hall (shard)
-Dining Hall (shard)
-Drawing Room (shard)
-Estate Entrance (shard)
-Garden 1 (shard)
-Parlor (shard)
-Bookstore (shard)
-Goneril’s Shop (shard)
–Explore all the remaining areas.
SEE THE TRUTH:
-(Select 1st Shard)
-(Select 2nd Shard)
-(Select 3rd Shard)
Common Route Chapter 2
-The parlor.
(Shards Search, in any order)
-Entrance Hall (shard)
-Drawing Room (shard)
-Estate Entrance (shard)
-Dining Hall (shard)
-Library (shard)
-Long Gallery (shard)
-Laundry Room (shard)
-Garden 1 (shard)
-Bookstore (shard)
–Explore all the remaining areas.
SEE THE TRUTH:
-(Select 1st Shard)
-(Select 2nd Shard)
-(Select 3rd Shard)
Common Route Chapter 3
-“Mrs. Verde taught me.”
(Shards Search, in any order)
-Entrance Hall (shard)
-Library (shard)
-Dining Hall (shard)
-Great Hall (shard)
-Parlor (shard)
-Drawing Room (shard)
-Kitchen (shard)
-Drawing Room (shard)
-Garden 2 (shard)
–Explore all the remaining areas.
SEE THE TRUTH:
-(Select 1st Shard)
-(Select 2nd Shard)
-(Select 3rd Shard)
Optional: Create Common Route Save file 1 here
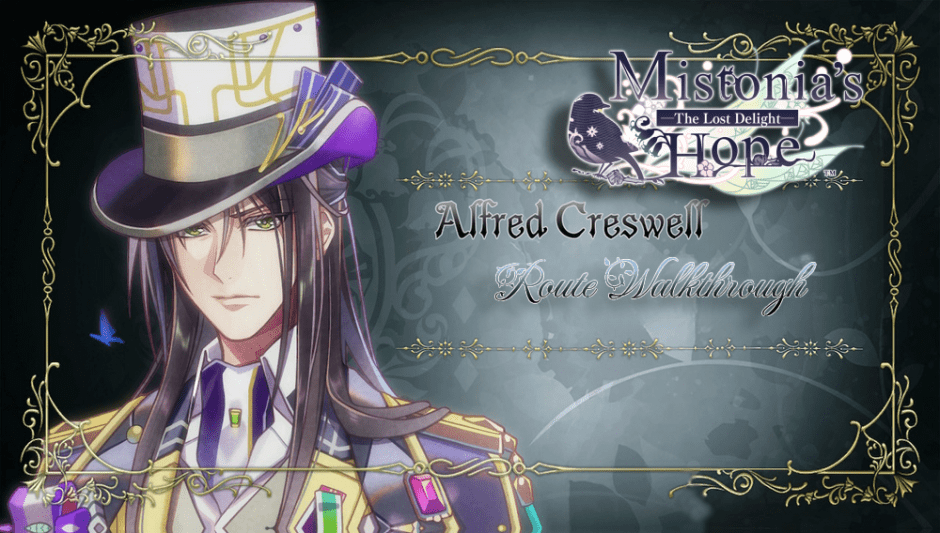
-Alfred.
ALFRED CHAPTER 1
-Show concern for his safety.
-Agree.
ALFRED CHAPTER 2
-Don’t call them.
-Rely on Alfred.
ALFRED CHAPTER 3
Create Save File 1 here
-Allude to it.
Create Save File 2 here
-(…we’re friends?)
ALFRED CHAPTER 4
-Take his hand in mine.
~The Dawn End~ (Happy End)
Load Save File 1
-Show concern for his health.
-(…we’re friends?)
-Pull my hand away.
~The Clown End~ (Tragic End)
(Unlocks a CG)
Load Save File 2
-(…we’re lovers?)
~The Astray~ (Bad End)
(Unlocks a CG)

Hi otome kitten! Love your guides and am so thankful for all of your hard work! I usually do my first run through blind and follow your guides afterwards, but my first run of the common route got me a very bad ending in Chapter 3 that I haven’t been able to find on your page! Just wanted to let you know :3
LikeLike
i just found them in the truth route!!! Sorry for not checking there before writing the comment!
LikeLike
gakupo route be like
LikeLike